Thursday, September 4, 2014

Project #2 - Teaser

Project #2 has a caveat! but we'll get to that in a minute...
You've all heard me talk about the "Swap Shop" and how much it has changed my life... well, this project is another tribute to that very place.
Mr. Man and I had been talking about wanting to get one of those old style, everyone's parents and grand-parents have one, type rocking chairs for our house.  One day, it came to us, via the Swap Shop!!


It's in pretty good condition, super sturdy, and has only a couple minor dents & scratches, but that gives it the Loved&Lived-in look that we like.  The only thing I really wanted to do to this chair was make a nice think butt-cushion.  Knowing I'm going to be spending many middle-of-the-night hours with my butt in this chair, it was a pretty important piece to me!

I bought some AWESOME fabric at Fabric Place Basement in Natick and invited my Mom over to make me a cushion :)  [My sewing skills are good for straight lines and single panels, but the curve of a chair cushion, with room for padding, totally eluded me!]


Enter Mama and her awesomeness!

And then here comes the Caveat.... I don't have awesome "After" photos for you because.... we are both super special, and with all of our measure-twice-cut-once philosophy, we forgot to take note of what was the back and what was the front of the cushion when it was on the chair... and we made a fatal design oops!  So my awesome mama took it home with her to pull a repair job on it and I will have it all magically fixed and beautiful in a week or 2 to show you!!!  :-)

In the meantime I'll be throwing away the huge bag/box of trash you see sitting next to the rocking chair in that first picture, and hopefully getting a few other Fabric-projects going for this little nursery of ours.
We've also been doing some updates to other parts of the house (does it ever end?) so I may have those up for you soon too....maybe.....

Wednesday, August 27, 2014

Nursery Project #1

The very first thing I had the inspiration for this baby's nursery was a Mobile!  There are so many awesome ways you can DIY a nursery.  I of course immediately went to Pinterest to see what others had come up with before me.
The one thing I really wanted to focus on for our baby's mobile, is the baby's Point-of-View and that being interesting!  So many mobiles that you see these days are interesting from the angle of the adult standing next to it, but not the child laying beneath it.
Like this:

What does baby see...?  A ring of slivers of paper!  While the adult gets to see the gradient colors and the round shapes.

So our mobile ended up more like this:


Baby gets to see fun Spiral shapes as they float around and spin in the air.


And the adults get to see the colorful paper too.
It's a win-win, and I can't wait to hang it above a crib or Changing station for baby's endless amusement!

(I also can't wait to find out if "baby" is a "he" or a "she" because man, it's hard to use pronouns when you plain old don't know what pronoun to use!!)

Thursday, August 21, 2014

MIA

OK, I've been MIA for way too long.  I have no guarantees that I won't go MIA again... but for now, I have some news, that most of you already know.  It's not an Excuse per-say, as to why I haven't been here, but it's most of the reason.  Many of the projects and activities in our lives lately, that I would normally blog about, revolve around one very key element of our lives that's been a secret up until a week or so ago....


Yup, our Brody is gonna be a big Brother!!!

Monday, June 16, 2014

2 Years and Counting...

 Two Years ago today, we were surrounded by family and friends while I prepared to spend the rest of my life with this amazing man!


Two Years ago today, we pledged our love for each other and had the biggest party of our lives!


Two Years ago today, we started this new Chapter together...


And today.... I am thrilled to celebrate our love once again, and to call him My Husband.

Love You Babe!!
'Here's to many more!!'

Monday, May 19, 2014

Pinterest Inspired

This was a quick update... took me about 3 minutes.... Once I found the loops!!

Ok let me back up a bit.
I own scarves!  I have started to use scarves as a fashion piece and not just to keep me warm during our New England Winters, so I have more "decorative/delicate" scarves than I ever have before.  They are also relatively new to me, so they're not totally ingrained in my head as to what exactly I have.  So I needed a way to see them easily so I can readily choose the appropriate one for daily outfits.

This hook situation inside the closet..


...just wasn't working for me.

I saw on Pinterest someone had used Shower curtain loops on a hanger to organize their scarves and make them easily accessible.
The kicker to this story is that I knew I had those hooks somewhere, wasn't using them on a shower curtain, they're still in the box... but I couldn't find them... even in the Move!

The one Saturday morning, they Appeared to me!


I stopped what I was doing and dove into this 3 minute project.

Take Loops out of box
Put hooks on Hanger and click closed
Feed scarves through Loops
Hang Hanger


Super easy and oh so satisfying!!


Full access to Scarves and Closet where scarves previously impeded.

Gotta love a 3 minute FREE project!

Thursday, May 15, 2014

Hang It Up

Another update from my weekend loot:

I do love when one shopping trip can provide so many updates.  It helps to make it feel like we're really making our mark on this place, making it our own, and adding our personality to it all at the same time.

Let me back up a quick step before I tell you about the next one...
I got started into blogging when I stumbled upon Young House Love blog.  They are an amazing couple who blogs together.  I've mentioned them a few times already on this blog of mine, but this time I mention them because they designed a line of merchandise..., and I bought a piece of it!


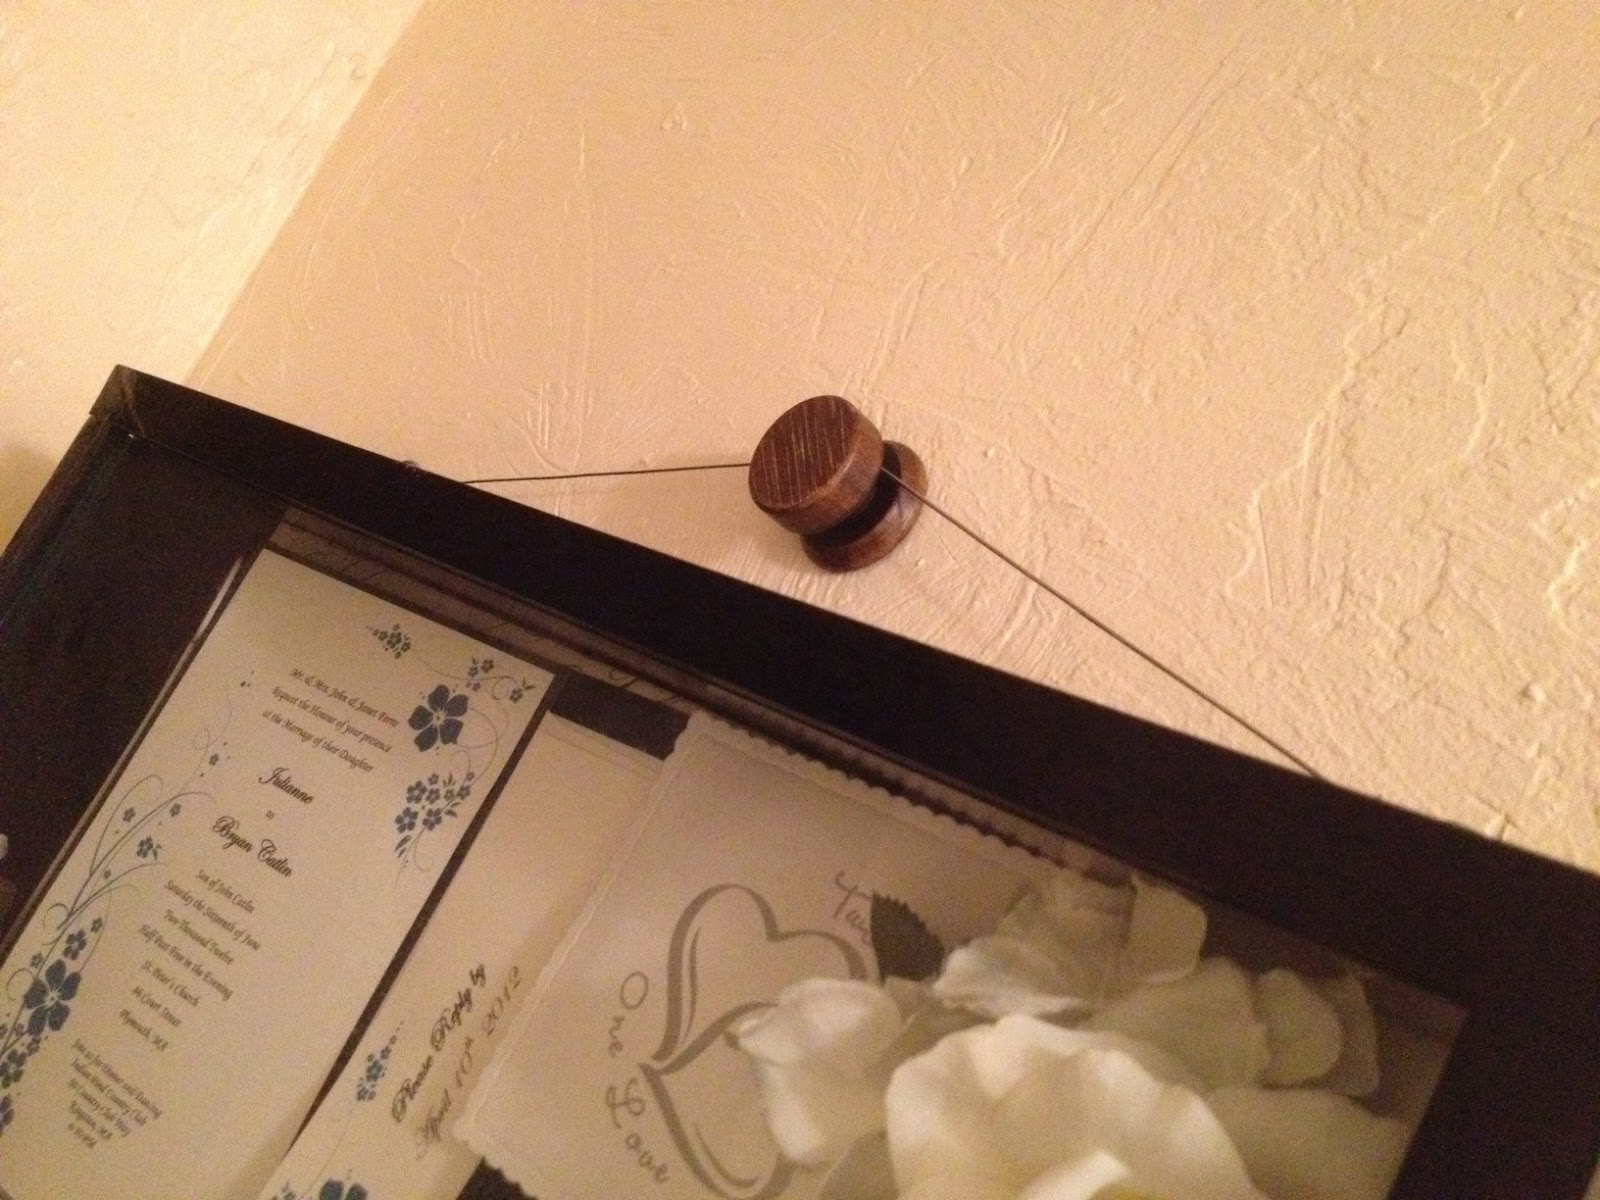
The little box to the right in the above photo, in front of the plastic door knob case, that's it!  It's a Picture hanger designed by Young House Love that I bought at Target!

I have this amazing shadow box full of our wedding story that has been sitting in storage since we moved into this house of ours.  When I read about John & Sherry's line and that it included a hanging knob for just this very purpose, I was excited!
It was super easy to install, and worked great to add interest to my already interesting piece when I hung it on the wall, instead of just having a screw or ugly gold picture hanging hook above our wedding box.  This shadow box was hand crafted by my Dad specifically for us to display all the little memories from our Wedding Journey, and it finally has a rightful place in our House.


Thanks again Dad for making us such a wonderful and personal piece, and thanks to Young House Love for the inspiration and interest-added to my wall!  This is literally the Only thing hung on all the walls downstairs (besides in the man-cave) and I love it!


Monday, May 12, 2014

Door Makeover

Have you ever wanted to paint a room, or a wall, or a cabinet... and you know you want to paint it, but you're not sure what color would look best.  So you go to the hardware store and grab a couple paint chips to hold up against that spot.  Then you narrow it down to 2 or 3 colors, so you grab a test-pot of those colors and paint a patch of each on that wall, then you finally choose a color and get to painting....?
Anyone have that experience?
Because I sure didn't!!!

This door in the Laundry room was white... kind of....


It was trying to be white, but like many things in this house, it was done poorly by the previous owners.  You can even see in this crappy iPhone photo that the area by the locks only got one coat of white way back when.  That's not dirt, it's a crappy paint job.

 From the first week of living in this house this little voice in my head has been saying "Why isn't that door painted Red?!!?"

There was no thinking about colors, Paint chips, or paint swatches.  I went to Lowes, grabbed a test pot of pain (Hoping that would be all I would need), and painted that door.  After 2 coats it was starting to look as magical as I knew it could be.


The third coat and a day of drying, and I'm in Love!


I am so happy to have this door painted Red, you have no idea!  I'm also happy that it didn't require going through the full scenario from above.  (Though I have other painting plans that will be more like that first scenario just waiting in the wings :)

Have you ever painted a Door? Had a hard time deciding on a paint color? Think I'm crazy for choosing red?